 Fishers, IN
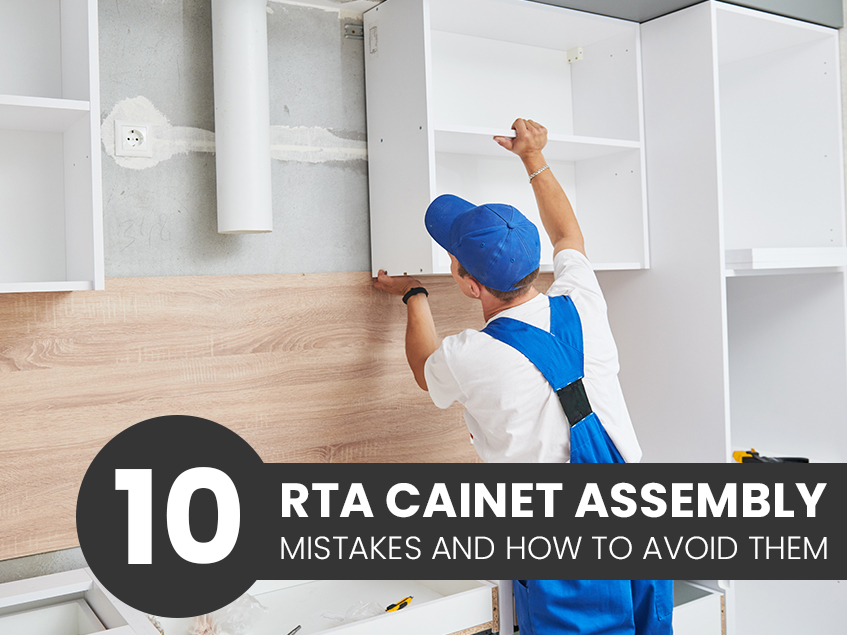
25 Sep 10 RTA Cabinet Assembly Mistakes and How to Avoid Them
RTA cabinets have become a popular choice for today’s homeowners. They’re an economical option that gives homeowners more control over their remodels. But, putting them together can be a challenge. Mistakes can lead to wasted time, damaged parts, and unusable products. We’ll explore the most common mistakes people make during RTA cabinet assembly and provide tips to avoid them.
Why Appropriate Cabinet Assembly Matters
RTA cabinets successful assembly hinges on accuracy and attention to detail. Skipping steps has significant repercussions. Poor assembly can cause misaligned doors and drawers, a reduced cabinet lifespan, and the voiding of warranties.
10 RTA Cabinet Assembly Mistakes
1. Skipping the Instructions

Many approach RTA cabinets with the mindset that “they’re just like IKEA” or that assembly is intuitive. This typically leads to missed steps and unstable pieces.
Tip: Read the assembly guide from cover to cover. Get familiar with the steps, identify the different parts, and understand the sequence. This will save you hours of frustration later.
2. Not Checking All Parts Before Assembly
Imagine getting halfway through assembly only to discover a missing screw or a damaged cam lock. This can bring your project to a grinding halt.
Tip: Before you start, do an inventory check. Lay everything out and check them against the list provided in the instructions.
3. Assembling on an Uneven Surface
Working on a wobbly or cluttered surface can lead to disaster. An uneven assembly area can subtly warp cabinet frames. This makes it impossible to achieve perfectly square boxes. It can lead to crooked doors and drawers once installed.
Tip: Put together ready-to-assemble cabinets on a flat and stable surface.
4. Utilizing the Incorrect Tools
Trying to assemble RTA cabinets with the wrong tools can result in stripped screws, cracked panels, etc.
Tip: Collect all the tools before you start. You will probably need a screwdriver, measuring tape, a level, and a drill.
5. Forgetting to Square the Cabinets
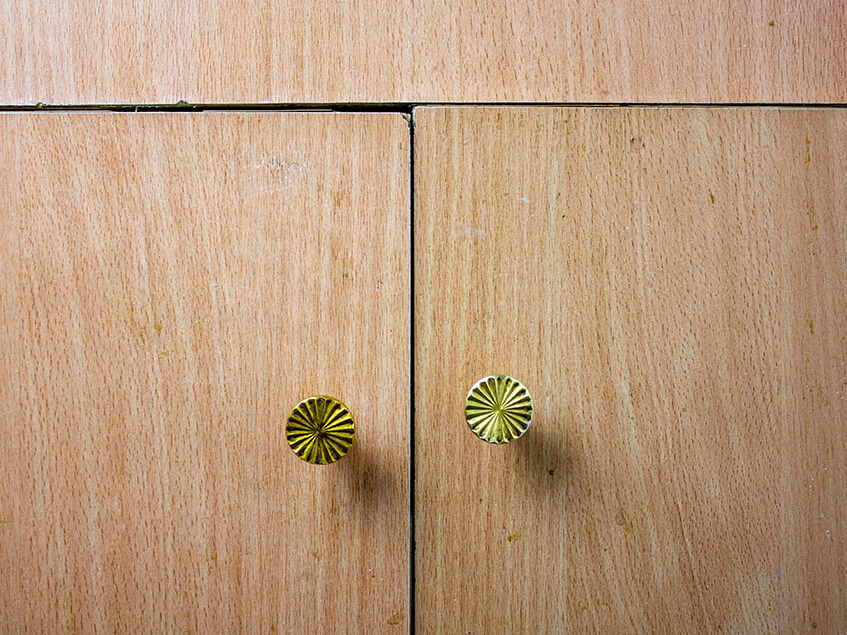
A cabinet box that isn’t perfectly square will cause endless headaches. Doors won’t hang properly, drawers will rub, and the entire unit will look off-kilter. This is one of the most common reasons for an “unprofessional” finished look.
Tip: As you assemble each cabinet box, use a measuring tape to check the diagonals. Measure from one corner to the opposite and then repeat. If the measurements aren’t identical, gently adjust the box.
6. Overtightening Screws and Cam Locks
Overtightening screws and cam locks can have serious consequences. It may strip threads, crack wood panels, and weaken the joint.
Tip: Tighten screws and cam locks. Once you feel resistance, give it a final quarter-turn. For power drills, always use a low torque setting or the clutch to prevent stripping.
7. Neglecting Glue or Wood Dowels
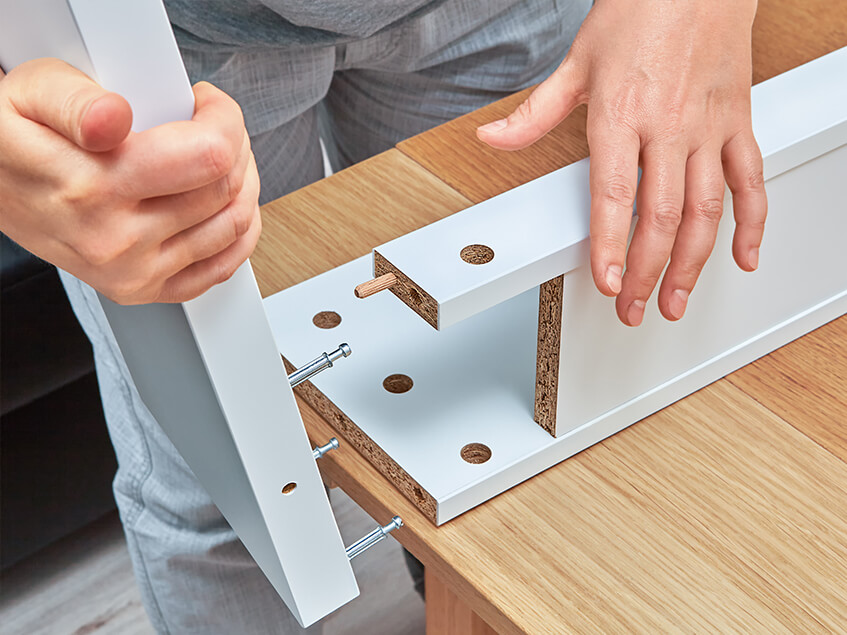
Many RTA cabinet designs include provisions for wood dowels or wood glue to reinforce joints. Skipping these can jeopardize the cabinets’ structural integrity.
Tip: If your instructions mention the use of wood dowels or wood glue, use them! These components add rigidity and strength to the joints, prevent future wobbles, and increase the lifespan of your cabinetry.
8. Installing Before Leveling
It might seem efficient to fully assemble a cabinet before installing it. However, if you don’t attach the cabinet box perfectly level and straight, the doors and drawers will misalign.
Tip: Assemble the cabinet box, then secure it. Check that it is straight and level before adding doors and drawers.
9. Forgetting to Anchor Cabinets to Studs
Wall cabinets that fail to anchor securely into wall studs can sag, pull away, or even fall, creating serious safety risks and costly damage. Securing base cabinets to studs also increases their stability.
Tip: Always locate and mark your wall studs using a stud finder. Use appropriate screws to firmly anchor base and wall cabinets into these studs. Never rely solely on drywall anchors for structural support.
10. Rushing the Process
Trying to complete an assembly quickly often leads to overlooked details, impatient handling, and ultimately, errors that take more time to fix than they would have taken to avoid.
Tip: RTA cabinet assembly is not a race. Break the project into chunks, double-check your work at each stage, and take a break if you feel frustrated.
Extra Pro Tips for a Smooth RTA Cabinet Assembly
- Organize Your Space
- Label Hardware
- Use Clamps
- Team Up
- Watch Videos
When to Call a Professional
There are times when calling in a professional is smart. If you’re working with complex layouts or under tight deadlines, the expertise of a professional installer can be invaluable.
Key Takeaways
Picking ready-to-assemble cabinets allows you to achieve a premium renovation without breaking the bank. Ready to upgrade your kitchen with high-quality RTA cabinets? Contact Boger Cabinetry today for expert help and premium cabinet solutions that empower your vision.